21 guides in English – readable right here without leaving the page, and each also available as its own page for search engines. Tap a card to open it. German speakers will find the full German guide library at twusch.de.
Most campers clean their toilet too aggressively and, at the same time, not often enough. The rule of thumb: the smoother the surface, the less work it takes. On aged plastic, residues settle into microscopic scratches – and that is exactly where the smell starts.
The right routine
- Rinse with clean water first, then clean – so you are not rubbing debris across the bowl.
- Use a mild bathroom cleaner, never scouring cream: abrasives scratch plastic permanently.
- Reach for a soft sponge rather than a stiff brush.
- Treat the seals only with products approved for them.
On a glazed porcelain surface the job is smaller from the start: the glaze is practically pore-free, so residues have almost nothing to cling to. More often than not, a quick rinse and a wipe will do.
The takeaway: gentle products, soft sponges, little and often rather than rarely and radically – and with a smooth porcelain surface, cleaning becomes a quick wipe instead of a chore.
Plastic is light, cheap and shatterproof – which is why it is the standard material in cassette toilets. But it ages: UV light, chemicals and years of cleaning turn the factory-sealed surface dull. Deposits and odours work their way into those fine pores, and no amount of scrubbing brings the shine back.
What porcelain does differently
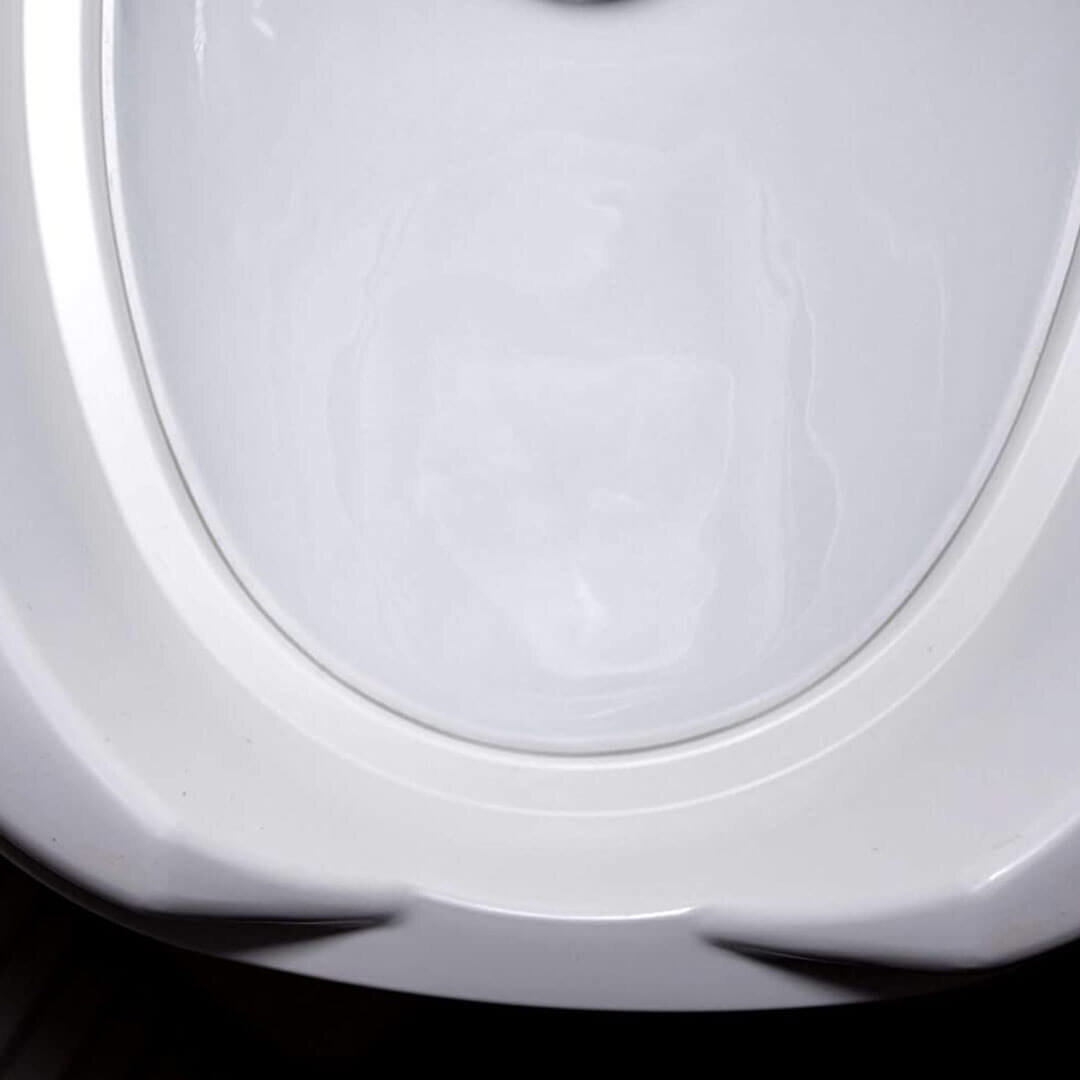
Porcelain glaze is fired at over 1,000 °C. It is as hard as glass, practically pore-free, does not scratch in everyday use and does not absorb odours. There is a reason household toilets have been made of ceramic for well over a century.
The best of both worlds
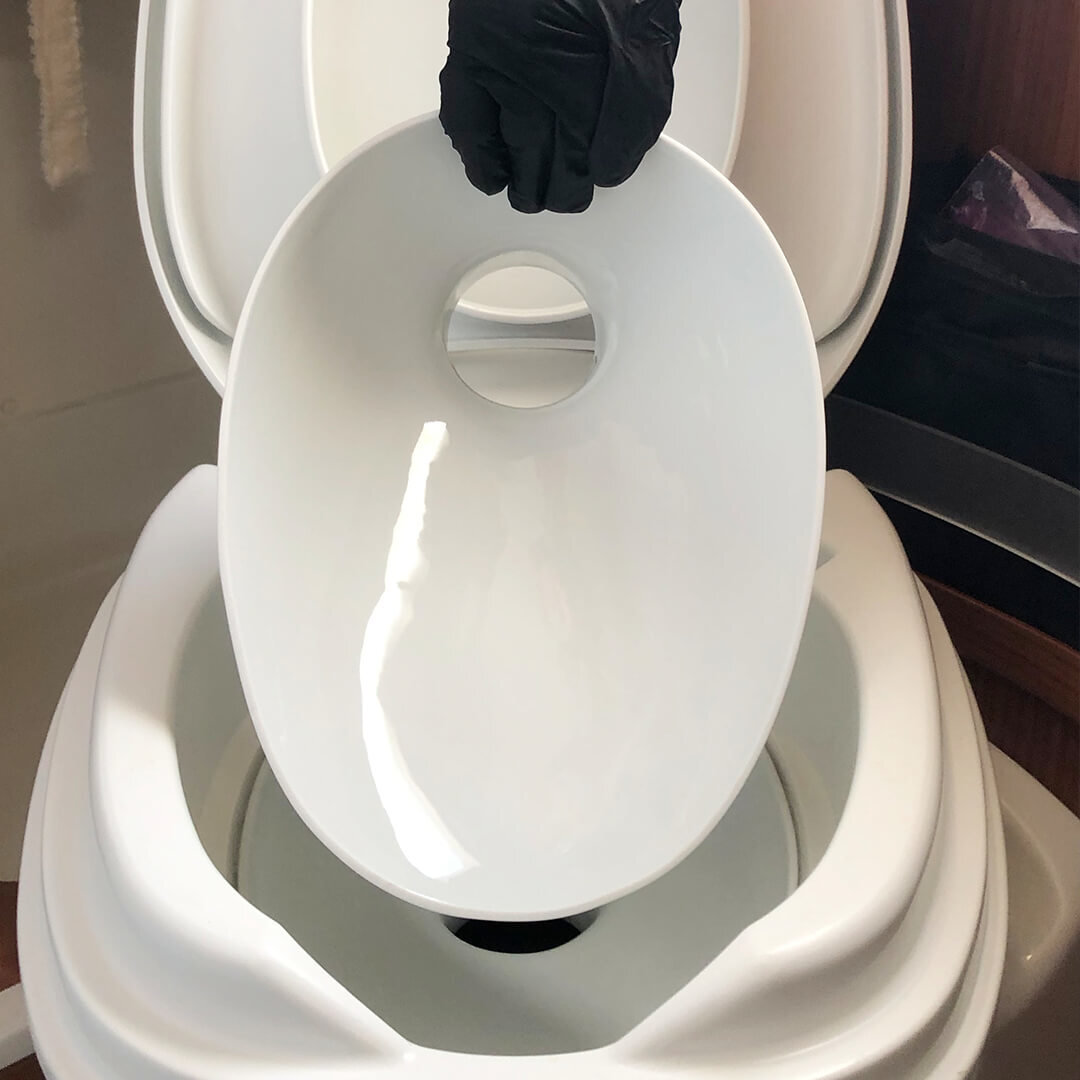
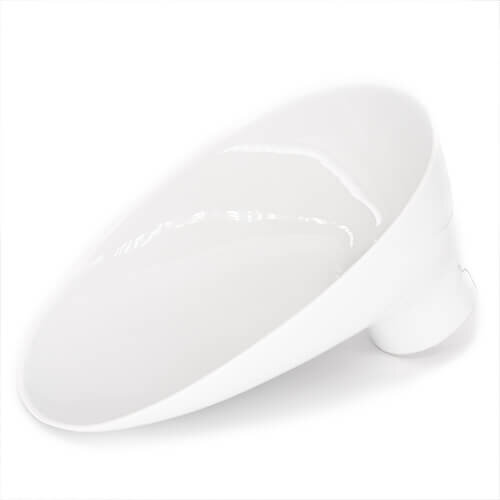
A porcelain insert combines the two: the lightweight plastic bowl stays in place as the supporting structure, while the contact surface becomes glazed porcelain. The added weight is minimal – and the surface gains household quality.
The takeaway: plastic carries, porcelain shines. The insert brings the strengths of both materials into one bowl – without replacing the toilet.
A smelly motorhome bathroom almost always comes down to one of three sources: the cassette, the seals, or the bowl surface itself.
1. The cassette
Empty it regularly and completely, rinse with clean water and dose your toilet fluid as instructed. An overfilled cassette will always smell – no additive can fix that.
2. The seals
A brittle blade seal lets odours into the bathroom. Care for the seals with approved products and replace them when they harden – it is cheap insurance.
3. The bowl surface
Aged plastic absorbs odours into its microscopic pores – which is why a freshly cleaned bowl can still smell. A glazed porcelain surface simply cannot do that: the glaze is dense and takes nothing in.
The takeaway: empty the cassette, look after the seals – and switch the third source off for good with a porcelain surface.
There is a matching porcelain insert for every Thetford cassette toilet – ten models in total:
- C2/C3/C4 → model 1.0
- C200 → model 2.0
- C220 → model 5.0
- C250 → model 6.0
- C260 → model 3.0
- C400 → model 4.0
- C500 → model 7.0
- Bravura → model 8.0
- Aqua Magic V → model 9.0
- Aqua Magic R → model 10.0
The classic mix-up: C250 or C260?
Both series use the same waste tank, so the numbers on the cassette itself will not tell you which toilet you own. The only reliable answer is the type plate inside the cassette compartment – have a look with a torch before you order. The position of the flush nozzle can also help identify the model.
The takeaway: read the type plate, pick the model from the list, order once. The model finder on this page links each series straight to the right Amazon listing.
The insert is designed to be fitted by anyone with basic DIY skills. The actual work takes around 15 minutes; the preparation decides how good the result is.
Step 1: Prepare
Clean and degrease the plastic bowl thoroughly, then let it dry completely. Silicone only bonds to a clean, dry surface.
Step 2: Dry-fit
Place the insert in the bowl without any silicone first and check the fit. You will see exactly where the top joint runs before anything sticks.
Step 3: Seal
Apply sanitary silicone sparingly – the joint is there to seal, not to glue the bowl in solid. Smooth the joint off cleanly and wipe away any excess straight away.
Step 4: Wait
The step most people skip: let the silicone cure fully according to the manufacturer's instructions before using the toilet.
The takeaway: prepare cleanly, seal sparingly, cure patiently – and the joint will last for years.
The silicone joint is the only connection between the porcelain insert and the plastic bowl – and it is where most fitting mistakes happen.
The usual mistakes
- Too much silicone: the bowl should be sealed, not glued in across its whole surface. Excess squeezes out and looks untidy.
- A damp surface: silicone will not bond permanently to residual moisture.
- The wrong silicone: use a sanitary-grade product; not every silicone bonds equally well to the polypropylene of the toilet bowl – check the manufacturer's guidance if in doubt.
- Using the toilet too soon: load the joint before it has cured and it will tear.
How to get a tidy joint
Mask the edges with tape, apply the silicone in one continuous run, smooth it off with a sealant tool or a wetted finger, and remove the tape immediately.
The takeaway: sparing, clean and dry – a good joint is barely visible and holds for years.
Winter touring sets your washroom two tasks: frost protection and condensation.
Frost protection
Standing water is the enemy. Drain the flush tank and pipework whenever frost threatens, or keep the vehicle heated. Empty the cassette regularly - frozen contents can damage components.
And the porcelain insert?
Porcelain itself doesn't mind frost, as long as no water freezes in enclosed spaces. The insert sits sealed into the bowl with silicone; as with any toilet, the important thing is that no residual water freezes anywhere in the system.
Condensation
Ventilate and heat well - otherwise moisture settles on every cold surface. The smooth glaze, at least, wipes dry in seconds.
The takeaway: water out or warmth in - then the washroom will sail through winter, porcelain included.
When planning to camp off-grid, most people budget for power and fresh water - and overlook that every flush counts twice: it empties the fresh tank and fills the cassette.
Where the water goes
On dull, aged plastic you need a full flush to leave the bowl clean. On a nano-sealed porcelain surface, water simply beads off (the lotus effect) - according to the manufacturer, flush water use drops by up to 75%.
What that means in practice
- Your fresh water lasts longer.
- The cassette fills more slowly - fewer trips to the chemical disposal point.
- Less water used is simply better for the environment.
The takeaway: save on flush water and you gain days at both ends - with no loss of comfort.
Few subjects divide campsite opinion like toilet fluids. Here's an overview without the ideology:
Traditional chemical fluids
Reliable against odours and breakdown, but not accepted at every disposal point - follow the site's guidance and the dosing instructions.
Green alternatives
Usually based on micro-organisms or enzymes, kinder at the disposal point, but often needing steadier conditions (temperature, time) to work reliably.
The part the bowl plays
The less residue that sticks in the bowl, the less work the fluid has to do in the cassette. A smooth, water-saving porcelain surface also reduces the amount of water going into the cassette - so the fluid isn't diluted as quickly.
The takeaway: choose your fluid to suit your disposal options and travel style - and let the bowl surface do part of the job.
Solar panel fitted, big water tank fitted - and you're still heading to a service point every two days? Then it's the cassette setting the rhythm of your trip.
The simple sum
Every flush ends up in the cassette. Cut the flush water and you extend your standing time directly: less water per use means more uses per cassette. With a nano-sealed porcelain surface, the manufacturer states flush water use drops by up to 75%.
Other levers worth pulling
- Carry a spare cassette where your toilet model allows it.
- Mark chemical disposal points in your apps and site guides in advance - outside campsites they are rare in the UK and Ireland.
- Dose fluids correctly - overdosing achieves nothing except cost.
The takeaway: going off-grid starts in the bowl. Save flush water and you decide when to move on - not your cassette.
When buying second-hand, the washroom is often the most honest condition report: this is where age shows first - and a dull, discoloured plastic bowl won't come back, however hard you scrub.
The options
- Replace the whole toilet: expensive, disruptive and usually unnecessary - the mechanism and cassette generally still work perfectly.
- Renew just the surface: a porcelain insert in the existing bowl replaces exactly the part that's worn - the visible surface - and leaves the sound mechanics alone.
The resale bonus
A cared-for washroom with a gleaming porcelain bowl reads like a cared-for vehicle when you come to sell - first impressions count here too.
The takeaway: it isn't the toilet that's worn out, only its surface. And that part can be swapped.
The C250 and C260 series are the classic mix-up: both use the same waste tank, the numbers on the cassette look similar - and the wrong model is ordered.
How to be certain
- Remove the cassette and look inside the compartment.
- There you'll find the type plate with the exact series designation.
- Only that counts - not the numbers on the cassette itself.
Then it's simple
C250 means insert model 6.0; C260 (e.g. C262-CWE, C263-S/-CS/-CSL) means model 3.0. The position of the flush nozzle can also help identify the toilet.
The takeaway: one minute with a torch in the compartment saves a return. Read the plate, then order.
The nano seal is what makes water bead off and why so little flush water is needed. Keeping it that way follows one simple rule: the coating works for you as long as you don't work against it.
What it loves
- Cleaning with water and a mild cleaner.
- Soft sponges or cloths.
- A quick regular wipe rather than a rare deep-clean.
What harms it
- Scouring cream and abrasive pads - they wear the coating away mechanically.
- Aggressive acids or highly concentrated chlorine cleaners.
- Steam cleaners pointed straight at the surface.
The takeaway: clean gently and the seal does the heavy lifting - if you let it.
Few subjects are debated as passionately around a campsite table as the right toilet paper for the cassette.
What it's really about
The paper should break down quickly in the cassette so it doesn't clump when emptying. Quick-dissolve camping paper is designed for exactly that; thin standard paper breaks down at very different rates depending on the brand.
Pragmatic advice
- Use it sparingly - quantity matters more than brand.
- With short standing times and regular emptying, the paper question is far more relaxed than often claimed.
- Toilet fluids help the breakdown along.
A side effect of the smooth porcelain surface: less sticks, so less paper tends to be used in the first place.
The takeaway: quantity before brand - and empty the cassette regularly, and the subject loses its terror.
Emptying the cassette is part of touring, like topping up the water - and with the right routine it's done cleanly in minutes.
The routine
- Keep disposable gloves handy - they make all the difference in your head.
- Wheel or carry the cassette calmly to the disposal point; only open the spout there.
- Press the vent button while pouring - the contents flow evenly instead of in surges.
- Rinse with clean water until it runs clear.
- Re-dose the fluid, refit the cassette, wash your hands.
The most common mistake
Waiting too long: a brimful cassette is heavy, sloshes and smells. Better to visit the disposal point once more often.
The takeaway: fixed sequence, gloves, don't let it overfill - and the chemical disposal point becomes routine instead of an ordeal.
Before the first outing of the season, a short systems check in the washroom is worth the half hour - it saves surprises on the road.
The checklist
- Seals: inspect the blade seal for cracks and brittleness; care for or replace it.
- Flush: fill with fresh water and test the flush and pump.
- Cassette: check the blade, vent and wheels all move freely.
- Joints: look over the silicone joints - bonded cleanly everywhere?
- Surface: give it one full clean; after that, the porcelain glaze only ever needs a wipe.
If the plastic has gone dull
If the bowl shows matt patches and discolouration after years of use, spring is the ideal moment to switch to porcelain - before the season, at your leisure, no time pressure.
The takeaway: a 30-minute check in spring - and the washroom stays off your mind all season.
On the road you rarely have the conditions of home: little water, little space, changing pitches. All the more important that the surfaces in your washroom demand little care by design.
The smooth-surface principle
Hygiene is above all a question of grip: porous, scratched surfaces hold on to residues; dense, smooth surfaces give them nothing to cling to. Porcelain glaze is among the smoothest everyday surfaces there is - which is why the sanitary world has relied on it for generations.
A simple travel routine
- A short rinse after every use - thanks to the lotus effect, very little water is needed.
- One quick wipe a day.
- Skip the harsh chemicals - on smooth glaze they're simply unnecessary.
The takeaway: choose the right surface and you'll clean less and travel cleaner.
When selling a motorhome, mileage and service history count - and so does the first impression. In practice, the washroom door is one of the first a viewer opens: the state of the wet room is read as a proxy for how the whole vehicle has been treated.
Small cause, big effect
A yellowed, dull toilet bowl makes the washroom feel old even when everything works. A gleaming porcelain surface flips that impression - the washroom reads as cared-for and high-quality.
An honest calculation
Whether an insert pays for itself in pounds at sale time depends on the vehicle - any blanket figure would be dishonest. What is certain: it removes a visible negotiation point, and until the day you sell, it benefits you on every single trip.
The takeaway: resale value lives in the details every buyer sees - and every buyer sees the washroom.
Fitting is straightforward - once you know the five classic mistakes:
1. Ordering the wrong model
Especially C250/C260. Solution: read the type plate inside the cassette compartment, not the numbers on the cassette.
2. A damp surface
Silicone won't bond to moisture. Solution: after cleaning, let the bowl dry completely.
3. Gluing the bowl in instead of sealing it
Too much silicone makes any later work needlessly hard. Solution: apply sparingly - the joint seals, it doesn't cement.
4. Not smoothing the joint
An untooled joint looks untidy. Solution: smooth it off in one continuous pass with a sealant tool.
5. Using it too soon
The silicone's curing time is a requirement, not a suggestion. Solution: wait as long as the manufacturer says.
The takeaway: know these five points and you'll fit it cleanly first time.
A porcelain insert looks simple - it isn't. Porcelain shrinks in the kiln, yet every piece has to fit precisely into a predefined plastic bowl. That is exactly where quick solutions fail.
The development
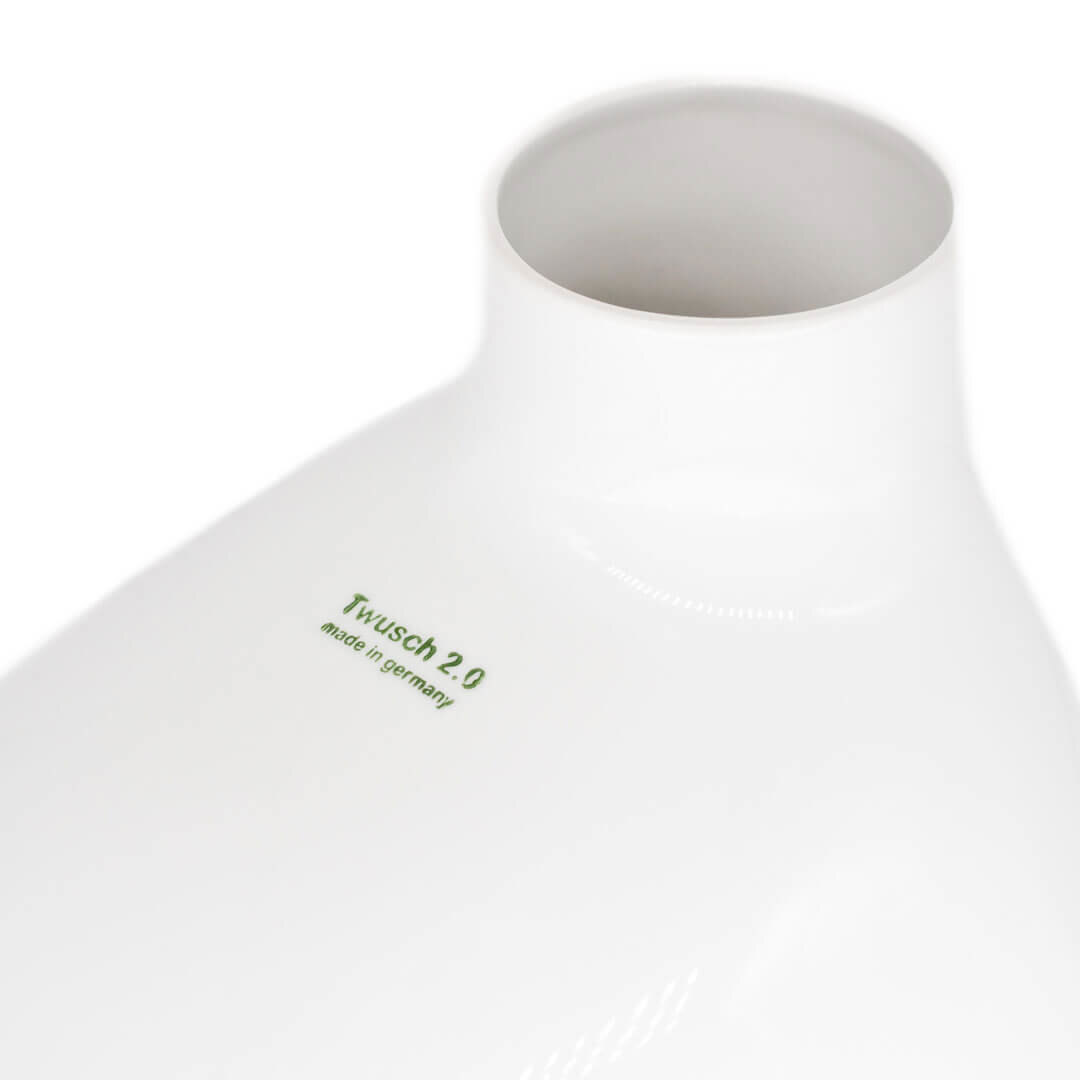
The insert was developed over years of painstaking work in Saxony. For mould-making and production, inventor Anton Süppmayer works with a German porcelain manufactory with over 100 years of experience - classic craftsmanship applied to a modern camping problem.
Ten moulds, one principle
A dedicated mould was created for every Thetford series - from the classic C2/C3/C4 through to Aqua Magic V and R. The principle stays the same: the proven plastic construction remains, and only the contact surface becomes glazed porcelain.
The takeaway: Made in Germany is not a slogan here but the combination of Saxon inventiveness and more than a century of manufactory experience.
These are the questions that reach customer service most often:
Will it fit my model?
There is a matching variant for every Thetford cassette toilet - ten models in total. The model finder on this page matches every series.
Does it work for Porta Potti?
Not at present. According to twusch.de, a Porta Potti version is under consideration but not available.
Can I fit it myself?
Yes - around 15 minutes of actual work plus the silicone's curing time. Basic DIY skills are all you need.
What does it cost in the UK and Ireland?
Orders from the UK and Ireland are handled via Amazon.co.uk - prices and delivery are shown on the respective Amazon listing. Customers in the EU can order directly from twusch.de (from 111.99 euros, as listed there in July 2026).
What about warranty and returns?
According to twusch.de, the insert carries a 2-year warranty. Amazon purchases use Amazon's returns process; direct EU orders additionally carry the statutory right of withdrawal.
The takeaway: never leave a question hanging - if in doubt, get in touch via
twusch.de/Kontakt.